Categories are the primary way to group products with similar features. You can also add subcategories if desired.
For example, if you sell clothing, you might have “t-shirts”, “hoodies” and “pants” as categories.
Overview
Shopper gives you a possibility to categorize your products in a very flexible way, which is one of the most vital functionalities of the modern e-commerce systems. The categories system in Shopper use the Laravel Adjacency List package to create categories trees like this
Category | |\__ Women | \_ T-Shirts | \_ Shirts | \_ Dresses | \_ Shoes | |\__ Men | \_ Accessories | |--> Bags | |--> Jeans | |--> Sunglasses | \_ Jeans | \_ T-shirts | \_ Shoes |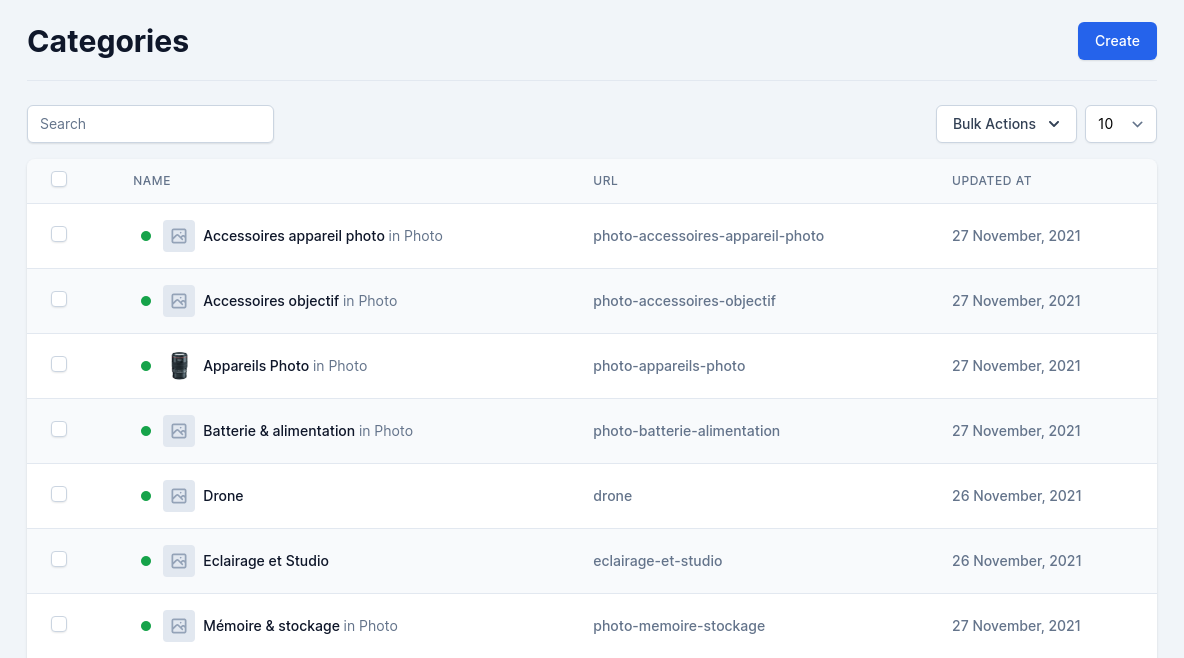
Fields
The model used is Shopper\Framework\Models\Shop\Product\Category.
| Name | Type | Required | Notes |
|---|---|---|---|
id |
autoinc | auto | |
name |
string | yes | |
slug |
string | yes | Unique, default value is generated using category name |
description |
longText | no | Nullable |
position |
string | no | Default 0 |
is_enabled |
boolean | no | Default false |
seo_title |
string | no | Nullable, for seo title max length is 60 |
seo_description |
string | no | Nullable, for seo description max length is 160 |
parent_id |
bigint | no |
To change the model you need to look at the configuration file
config/shopper/system.php at the key models.Let's keep in mind the modification that was made in the previous section regarding Brands.
php return [ 'models' => [ /* * Eloquent model should be used to retrieve your brands. Of course, * it is often just the "Brand" model but you may use whatever you like. * * The model you want to use as a Brand model needs to extends the * `\Shopper\Framework\Models\Shop\Product\Brand` model. */ 'brand' => \App\Models\Brand::class, /* * Eloquent model should be used to retrieve your categories. Of course, * it is often just the "Category" model but you may use whatever you like. * * The model you want to use as a Category model needs to extends the * `\Shopper\Framework\Models\Shop\Product\Category` model. */ 'category' => \Shopper\Framework\Models\Shop\Product\Category::class, // [tl! focus] ] ]; 1. Create your own model that you have to use
shell php artisan make:model Category Once the
app/Models/Category.php model is created in our app folder, we will make it extend from the Shopper\Framework\Models\Shop\Product\Category model available in Shopper.2. Extend our Category model from the Category Shopper Model
php namespace App\Models; use Shopper\Framework\Models\Shop\Product; class Category extends Product\Category { } 3. Update
category key for the model on the system.php config file to use our new modelphp return [ 'models' => [ /* * Eloquent model should be used to retrieve your brands. Of course, * it is often just the "Brand" model but you may use whatever you like. * * The model you want to use as a Brand model needs to extends the * `\Shopper\Framework\Models\Shop\Product\Brand` model. */ 'brand' => \App\Models\Brand::class, /* * Eloquent model should be used to retrieve your categories. Of course, * it is often just the "Category" model but you may use whatever you like. * * The model you want to use as a Category model needs to extends the * `\Shopper\Framework\Models\Shop\Product\Category` model. */ 'category' => \App\Models\Category::class, // [tl! focus] ] ]; Components
Livewire components for managing categories are available in the component configuration file config/shopper/components.php.
use Shopper\Framework\Http\Livewire; return [ ... 'livewire' => [ ... 'categories.browse' => Livewire\Categories\Browse::class, 'categories.create' => Livewire\Categories\Create::class, 'categories.edit' => Livewire\Categories\Edit::class, 'tables.categories-table' => Livewire\Tables\CategoriesTable::class, ... ]; ...];Manage Categories
Categories are determinant of how people will navigate on your site and search for your products. You should focus on your category tree and how categories are organized even before you start creating product sheets.
The categories are accessible via the Categories Menu on the left sidebar. The display page is rendered by the Livewire component Shopper\Framework\Http\Livewire\Categories\Browse and for the display of the categories table is the component Shopper\Framework\Http\Livewire\Tables\CategoriesTable.
You can modify them in the component configuration file to use your own.
Create category
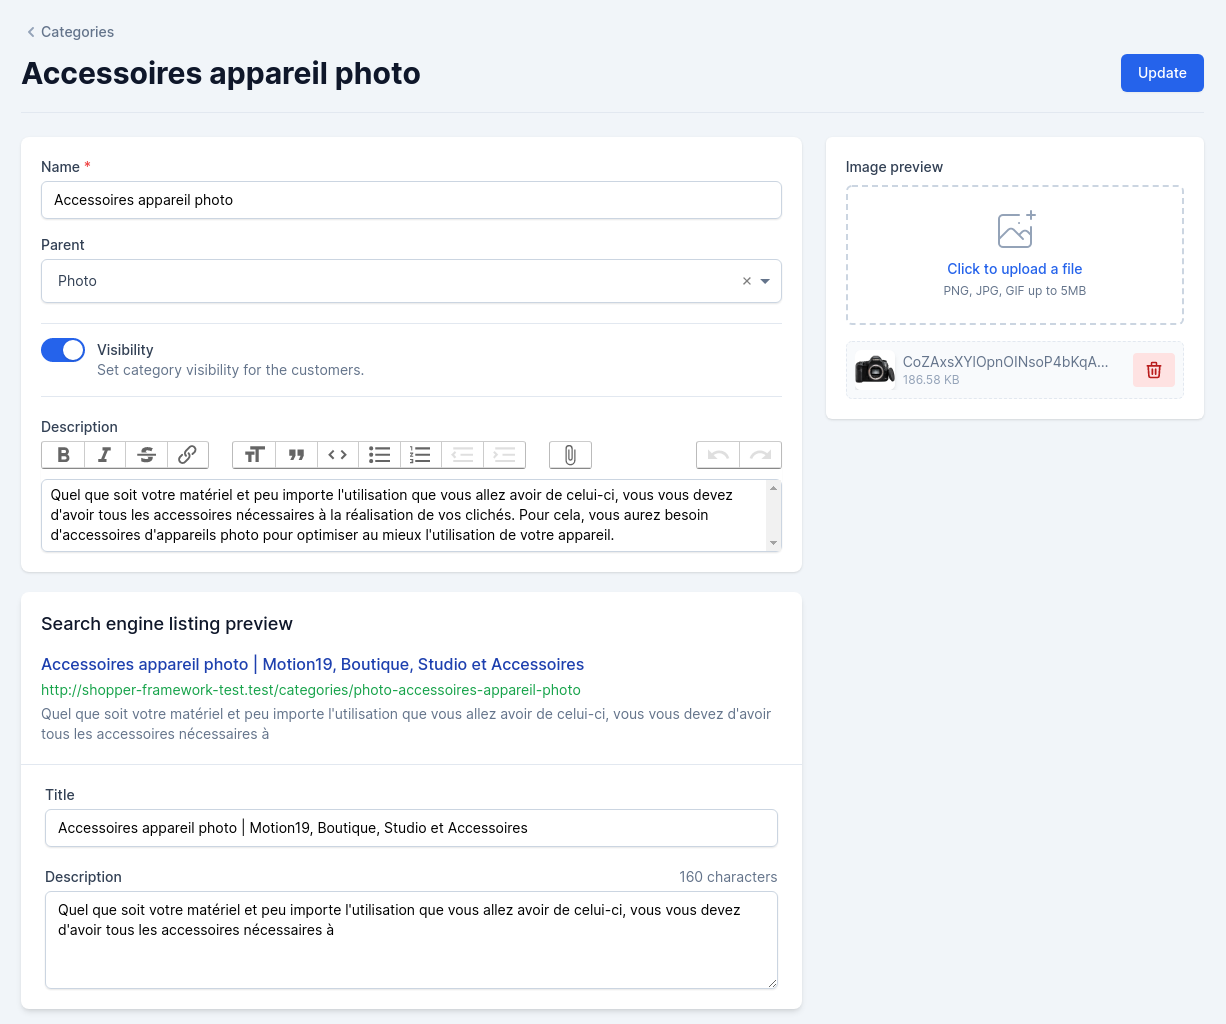
Click on the "Create" button on the categories page, and a creation form appears.
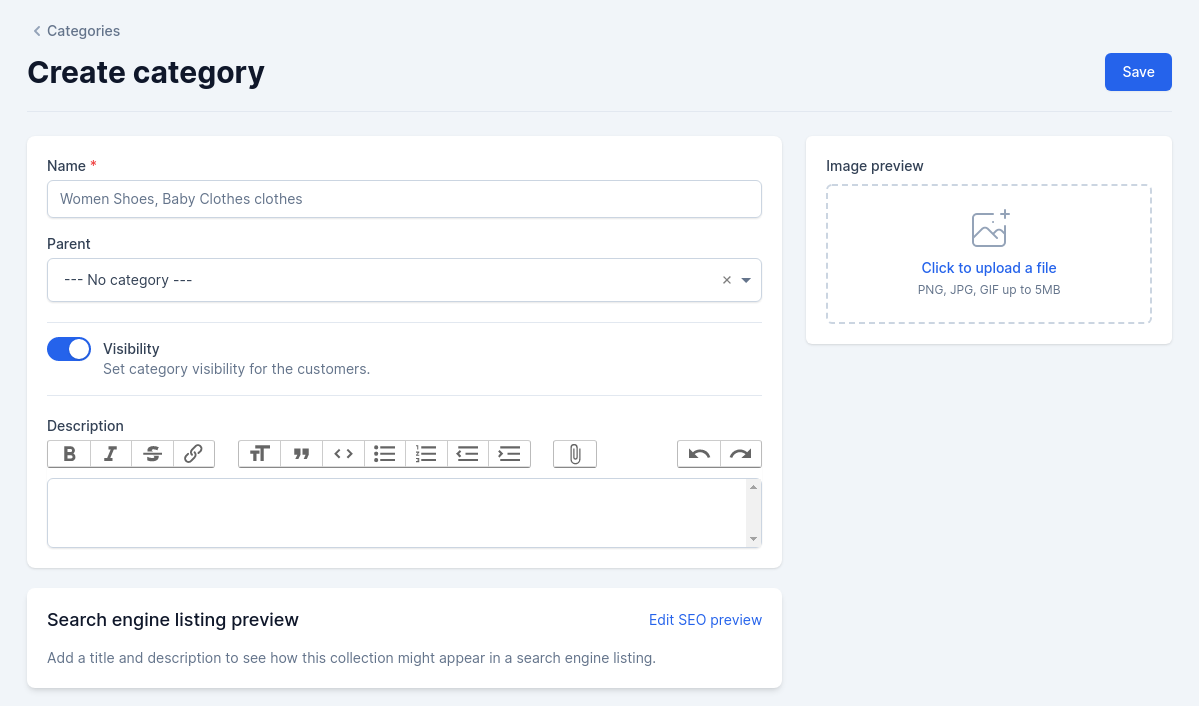
Save your changes in order to be taken back to the categories list. Required fields are marked with an asterisk (*)
The SEO section allows you to define how your category information should be displayed in search engines. To modify the content you click on the button "Edit SEO preview". It uses the same blade component as the brands.
Once you have finished configuring your category, save it, and you are ready to fill it with products.
If you use another interface (e.g. API) to save your categories, you can save directly using your Model
use App\Models\Category; $category = Category::create([ 'name' => $name = 'Clothes', 'slug' => $name, 'is_enabled' => true,]);The slug cannot be null, you have to fill in the value of the category name and according to that the slug will be generated.
In case a slug already exists, the slug will be automatically extended to prevent duplicates:
use App\Models\Category; $category1 = Category::create(['name' => 'Category', 'slug' => 'Category']);$category2 = Category::create(['name' => 'Category', 'slug' => 'Category']); echo $category1->slug;// category echo $category2->slug;// category-1And if the category has a parent, the child's slug will be generated with the parent's directly
This generation is done when adding a category in Shopper. But you can change this behavior by extending the category create Shopper\Framework\Http\Livewire\Categories\Create Livewire component or by creating a new one.
use App\Models\Category; $category = Category::create(['name' => 'Photo', 'slug' => 'photo']);$categoryChild = Category::create([ 'name' => 'Camera', 'slug' => $this->parent ? $this->parent->slug . '-' . 'Camera' : 'Camera', 'parent_id' => $caregory->id]); echo $category->slug;// photo echo $categoryChild->slug;// photo-cameraCreate Category with parent
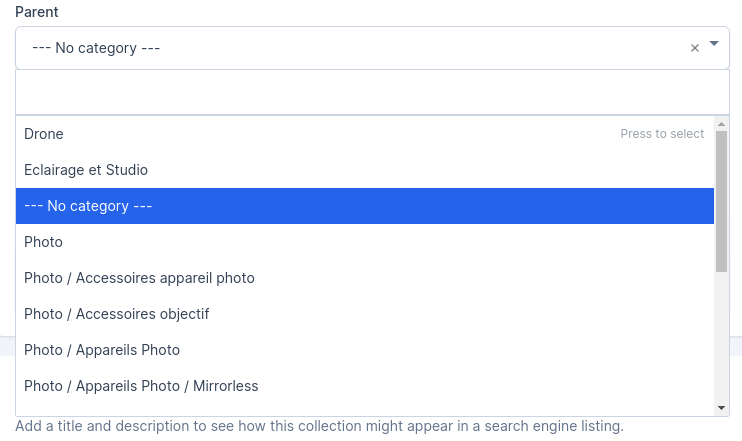
use App\Models\Category; $parent = Category::create([ 'name' => $name = 'Clothes', 'slug' => $name, 'is_enabled' => true,]); $child = Category::create([ 'name' => 'Jeans', 'slug' => 'jeans', 'parent_id' => $parent->id, 'is_enabled' => true,]);On Shopper, to specify the parent category you just have to choose via the select field
Update category
The "Modify" button allows you to modify the category.
Retrieve Data
With Shopper Framework you are the master of your front-end. After extending the model you can make all the necessary queries to retrieve your data.
We just recommend that you always use the enabled scope to ensure that only active categories are visible
use App\Models\Category; $categories = Category::enabled()->get(),To find a category with his children or parent, etc. The following functions are available.
-
ancestors(): The model's recursive parents. -
ancestorsAndSelf(): The model's recursive parents and itself. -
bloodline(): The model's ancestors, descendants and itself. -
children(): The model's direct children. -
childrenAndSelf(): The model's direct children and itself. -
descendants(): The model's recursive children. -
descendantsAndSelf(): The model's recursive children and itself. -
parent(): The model's direct parent. -
parentAndSelf(): The model's direct parent and itself. -
rootAncestor(): The model's topmost parent. -
siblings(): The parent's other children. -
siblingsAndSelf(): All the parent's children.
$ancestors = Category::find($id)->ancestors;$categories = Category::with('descendants')->get();$categories = Category::whereHas('siblings', function ($query) { $query->where('name', '=', 'Photo');})->get();$total = Category::find($id)->descendants()->count();Category::find($id)->descendants()->update(['is_enabled' => false]);Category::find($id)->siblings()->delete();The complete documentation is available in the readme of Laravel Adjacency List