Brands

Most e-commerce sites sell products from several manufacturers. And each supplier can be represented by a brand.

Unless you make your own products, you'll be registering your product's brands in Shopper.

If you sell your own products, you must at least create your company as a brand: this helps your customer find what they are looking for, and this can bring some valuable search engine points.

Overview

The management of brands is exactly the same as the one done in most of the e-commerce website creation tools: only the name can change. It is mainly used to facilitate the navigation of customers in your catalog, as it is increasingly common to search for a specific brand.

Brands
Brands

New brands are automatically activated and available for your online store, even if they do not contain any products yet. You must deactivate them so that they do not appear online.

Model

The model used is Shopper\Models\Brand.

Name Type Required Notes
id autoinc auto
name string yes
slug string no Unique, default value is auto generated using brand name
website string no Nullable
description longText no Nullable
position string no Default 0
is_enabled boolean no Default false
seo_title string no Nullable, for seo title max length is 60
seo_description string no Nullable, for seo description max length is 160
Hot Tip!
Models are customizable, and we recommend changing the Brand model when you configure your site. To change the model you need to look at the configuration file config/shopper/models.php.
use Shopper\Core\Models;
 
return [
// ...
'brand' => Models\Brand::class,
];
use Shopper\Core\Models;
 
return [
// ...
'brand' => Models\Brand::class,
];
  1. Create your own Model

    php artisan make:model Brand
    php artisan make:model Brand

    Once the app/Models/Brand.php model is created in your app folder, you need to extend from the Shopper\Core\Models\Brand Model.

  2. Extend our Brand model from the Brand Shopper Model

    namespace App\Models;
     
    use Shopper\Core\Models\Brand as Model;
     
    class Brand extends Model
    {
    }
    namespace App\Models;
     
    use Shopper\Core\Models\Brand as Model;
     
    class Brand extends Model
    {
    }
  3. Update brand key for the model on the models.php config file to use our new model

    -'brand' => Models\Brand::class,
    +'brand' => \App\Models\Brand::class,
    -'brand' => Models\Brand::class,
    +'brand' => \App\Models\Brand::class,

Components

By default, brands Livewire components are not published. To customize components, you must publish them.

php artisan shopper:component:publish brand

This command will publish all Livewire components used for brand management (from pages to form components). Once you've published the component, you can find it in the brand.php locate in the config/shopper/components folder.
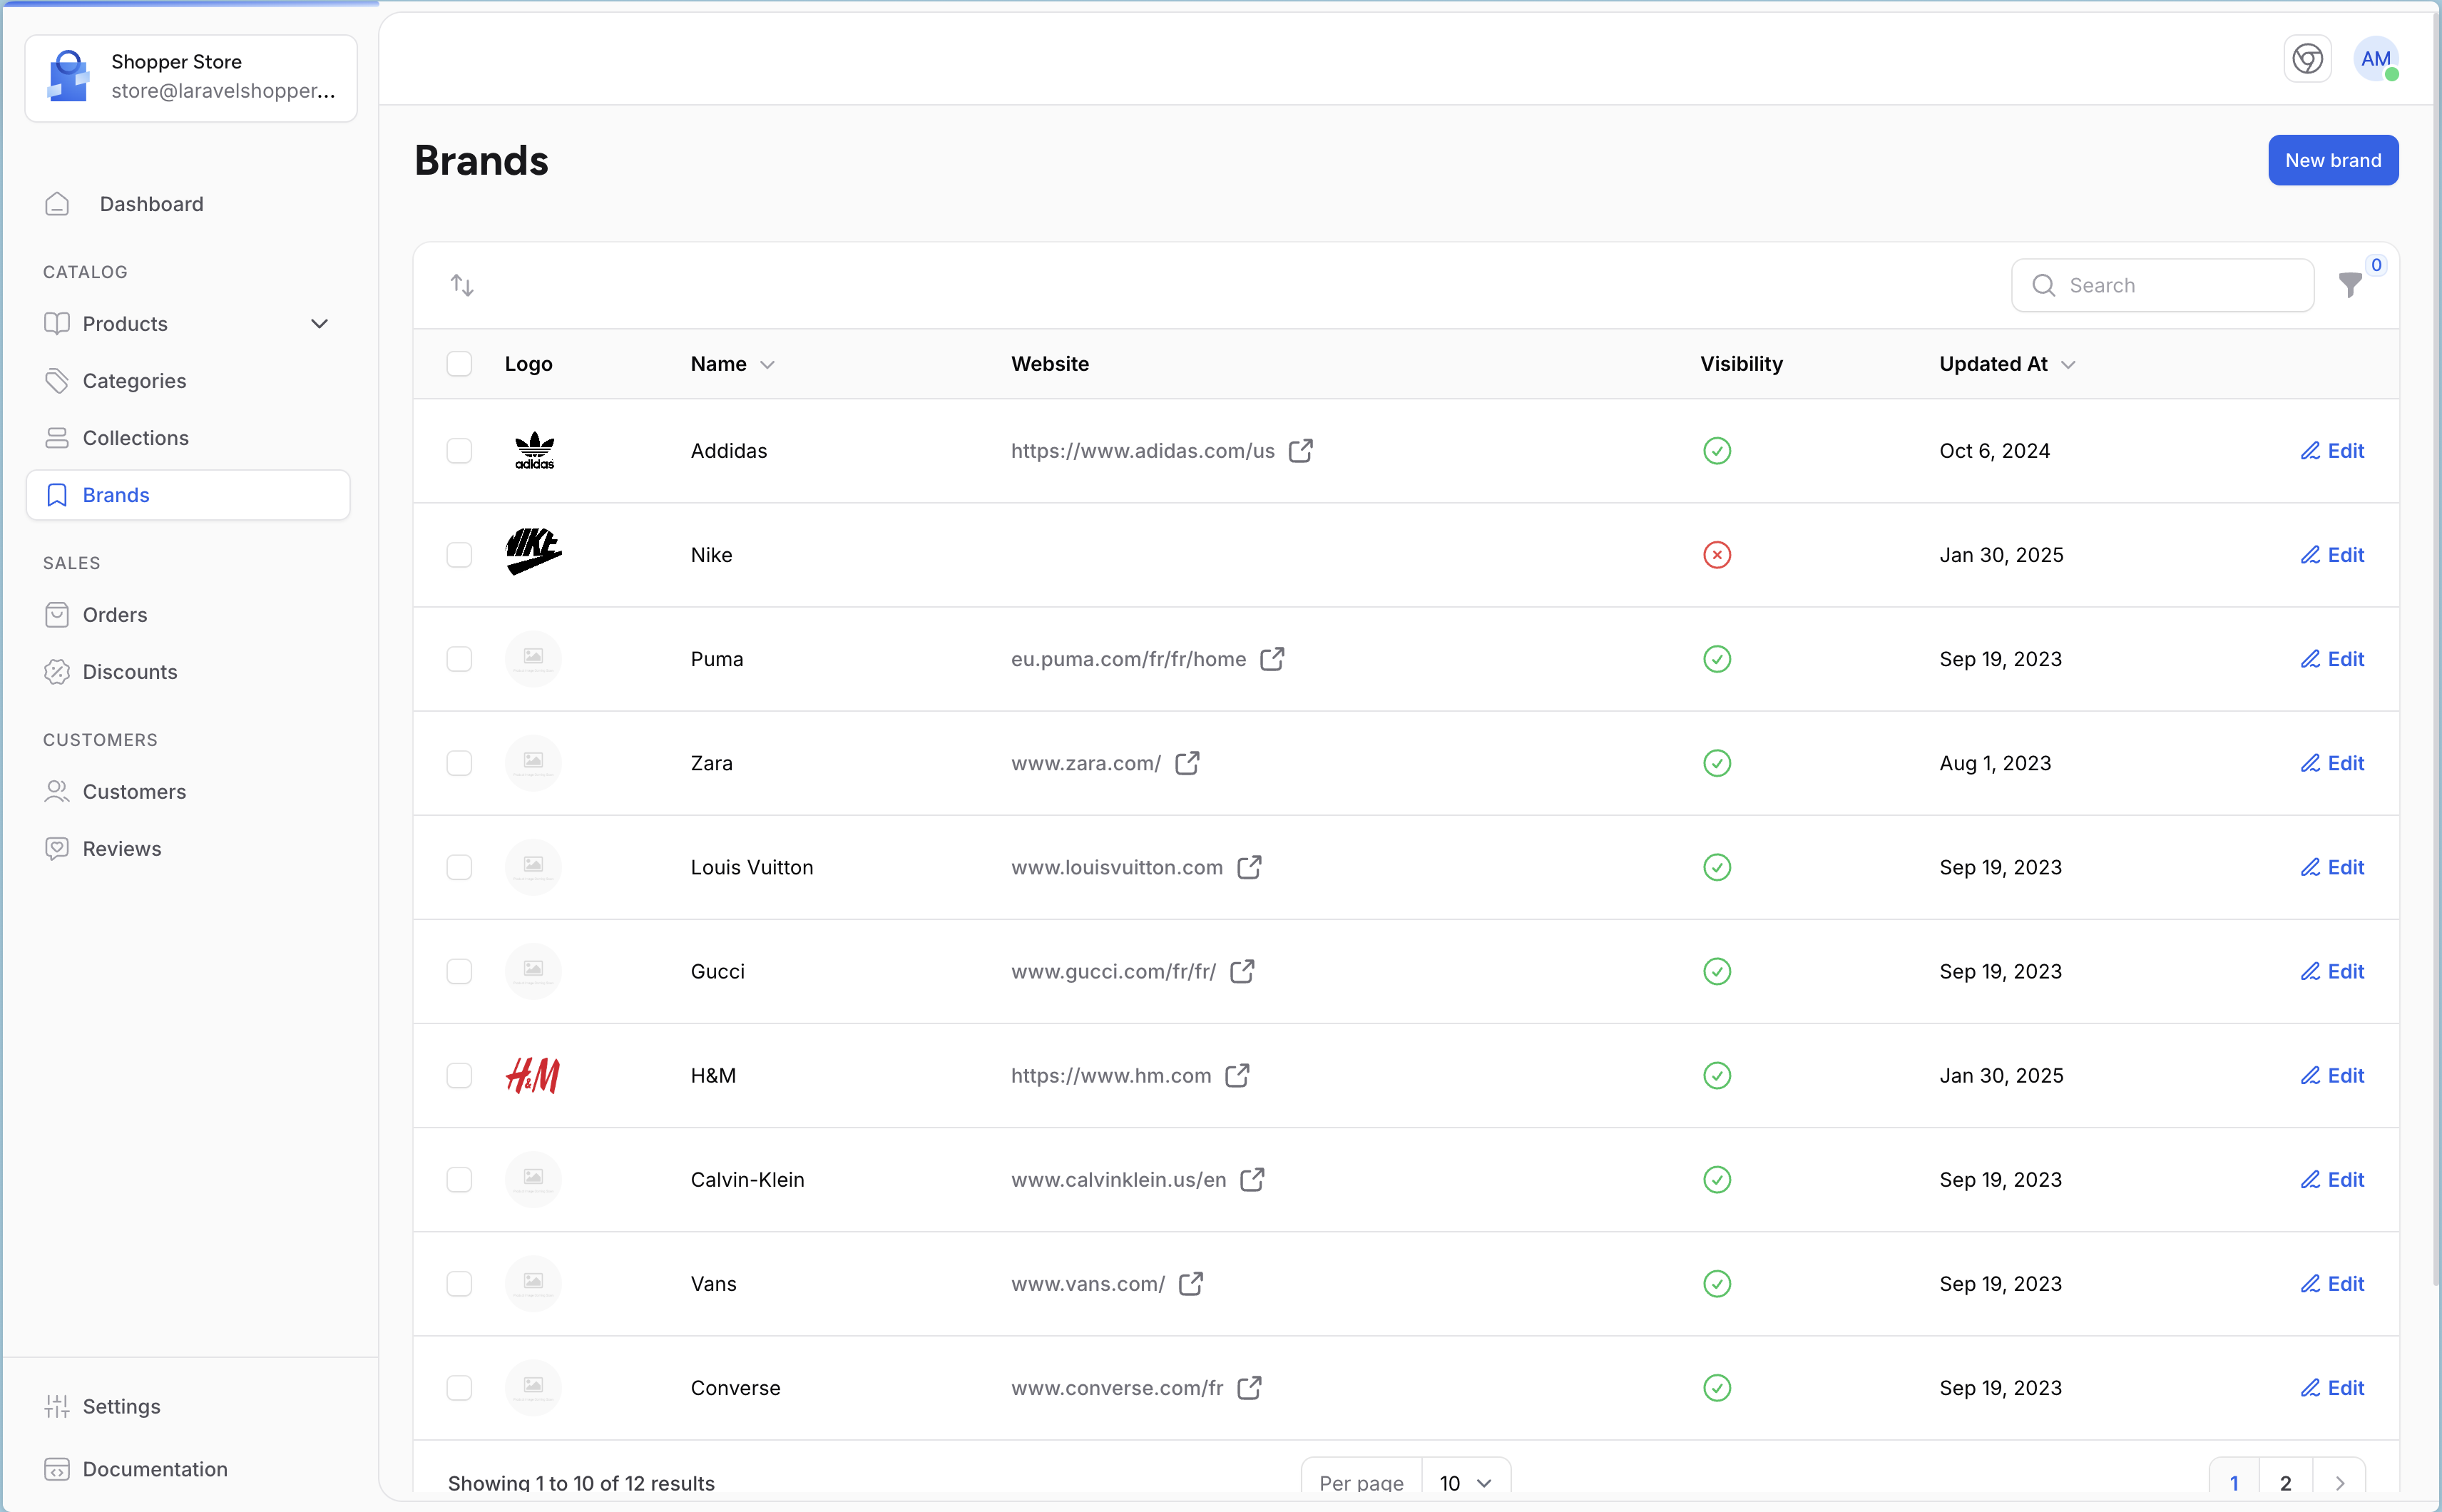
use Shopper\Livewire;
 
return [
'pages' => [
'brand-index' => Livewire\Pages\Brand\Index::class,
],
 
'components' => [
'slide-overs.brand-form' => Livewire\SlideOvers\BrandForm::class,
],
];
use Shopper\Livewire;
 
return [
'pages' => [
'brand-index' => Livewire\Pages\Brand\Index::class,
],
 
'components' => [
'slide-overs.brand-form' => Livewire\SlideOvers\BrandForm::class,
],
];

Manage Brands

The brands are accessible via the Brands Menu on the left sidebar. You can update the livewire page component in the configuration file to use your own.

To create a Livewire page for Shopper you need to run the following command

php artisan make:shopper-page Brand

This page will extend shopper's default layout, and you can render the view you want.

Create brand

Click on the "Create" button on the brands page, which will display the form.

Create brand
Create brand

Save your changes in order to be taken back to the brand's list. Required fields are marked with an asterisk (*)

If you use another interface (e.g. API) to save your brands, you can save directly using your Model

use App\Models\Brand;
 
$category = Brand::create([
'name' => $name = 'Matanga',
'slug' => $name,
'is_enabled' => true,
]);
use App\Models\Brand;
 
$category = Brand::create([
'name' => $name = 'Matanga',
'slug' => $name,
'is_enabled' => true,
]);

Retrieve Data

Once you have your brands you want to display them in your store, you can retrieve them this way in your controller

namespace App\Http\Controllers;
 
use App\Models\Brand;
use App\Models\Product;
use Carbon\Carbon;
 
class HomeController extends Controller
{
public function __invoke()
{
$products = Product::with('categories', 'attributes')
->publish()
->take(8)
->get()
->map(function ($product) {
$product['is_new'] = $product->created_at
->addDays(8)
->greaterThanOrEqualTo(Carbon::now());
 
return $product;
});
 
return view('home', [
'products' => $products,
'brands' => Brand::enabled()->get()->take(12),
]);
}
}
Hot Tip!
Knowing that your brands can be displayed on several pages and places in your store website, you can create a View Composer (read more about View Composer).
  • Create your brand composer undo a custom folder app/View/Composers
namespace App\View\Composers;
 
use App\Models\Brand;
use Illuminate\View\View;
 
class BrandsComposer
{
public function compose(View $view): void
{
$view->with('brands', Brand::enabled()->get()->take(12));
}
}
namespace App\View\Composers;
 
use App\Models\Brand;
use Illuminate\View\View;
 
class BrandsComposer
{
public function compose(View $view): void
{
$view->with('brands', Brand::enabled()->get()->take(12));
}
}
  • Then you have to add it in your AppServiceProvider
 
namespace App\Providers;
 
use App\View\Composers\BrandsComposer;
use Illuminate\Support\Facades\View;
use Illuminate\Support\ServiceProvider;
 
class AppServiceProvider extends ServiceProvider
{
public function boot(): void
{
View::composer('partials.brands', BrandsComposer::class);
}
}
 
namespace App\Providers;
 
use App\View\Composers\BrandsComposer;
use Illuminate\Support\Facades\View;
use Illuminate\Support\ServiceProvider;
 
class AppServiceProvider extends ServiceProvider
{
public function boot(): void
{
View::composer('partials.brands', BrandsComposer::class);
}
}

And in your front-end you can browse your brands to have a display like this

Brands list
Brands list

Disabled Brand

Sometimes in your store, you won't have a brand name for your products (it's rare but possible), especially if you make them yourself. In this case, you can hide brands on the sidebar and disabled all brand-related functionalities in your store.

To disable brands-related functionalities, open the features.php configuration file in the config/shopper folder and set the brand key to disable.

use Shopper\Enum\FeatureState;
 
return [
'attribute' => FeatureState::Enabled,
- 'brand' => FeatureState::Enabled,
+ 'brand' => FeatureState::Disabled,
'category' => FeatureState::Enabled,
'collection' => FeatureState::Enabled,
'discount' => FeatureState::Enabled,
'review' => FeatureState::Enabled,
];
© 2025 Shopper Labs
Edit this page on GitHub