Customers
In e-commerce stores, customers are one if not the fundamental point for the functioning of your store.
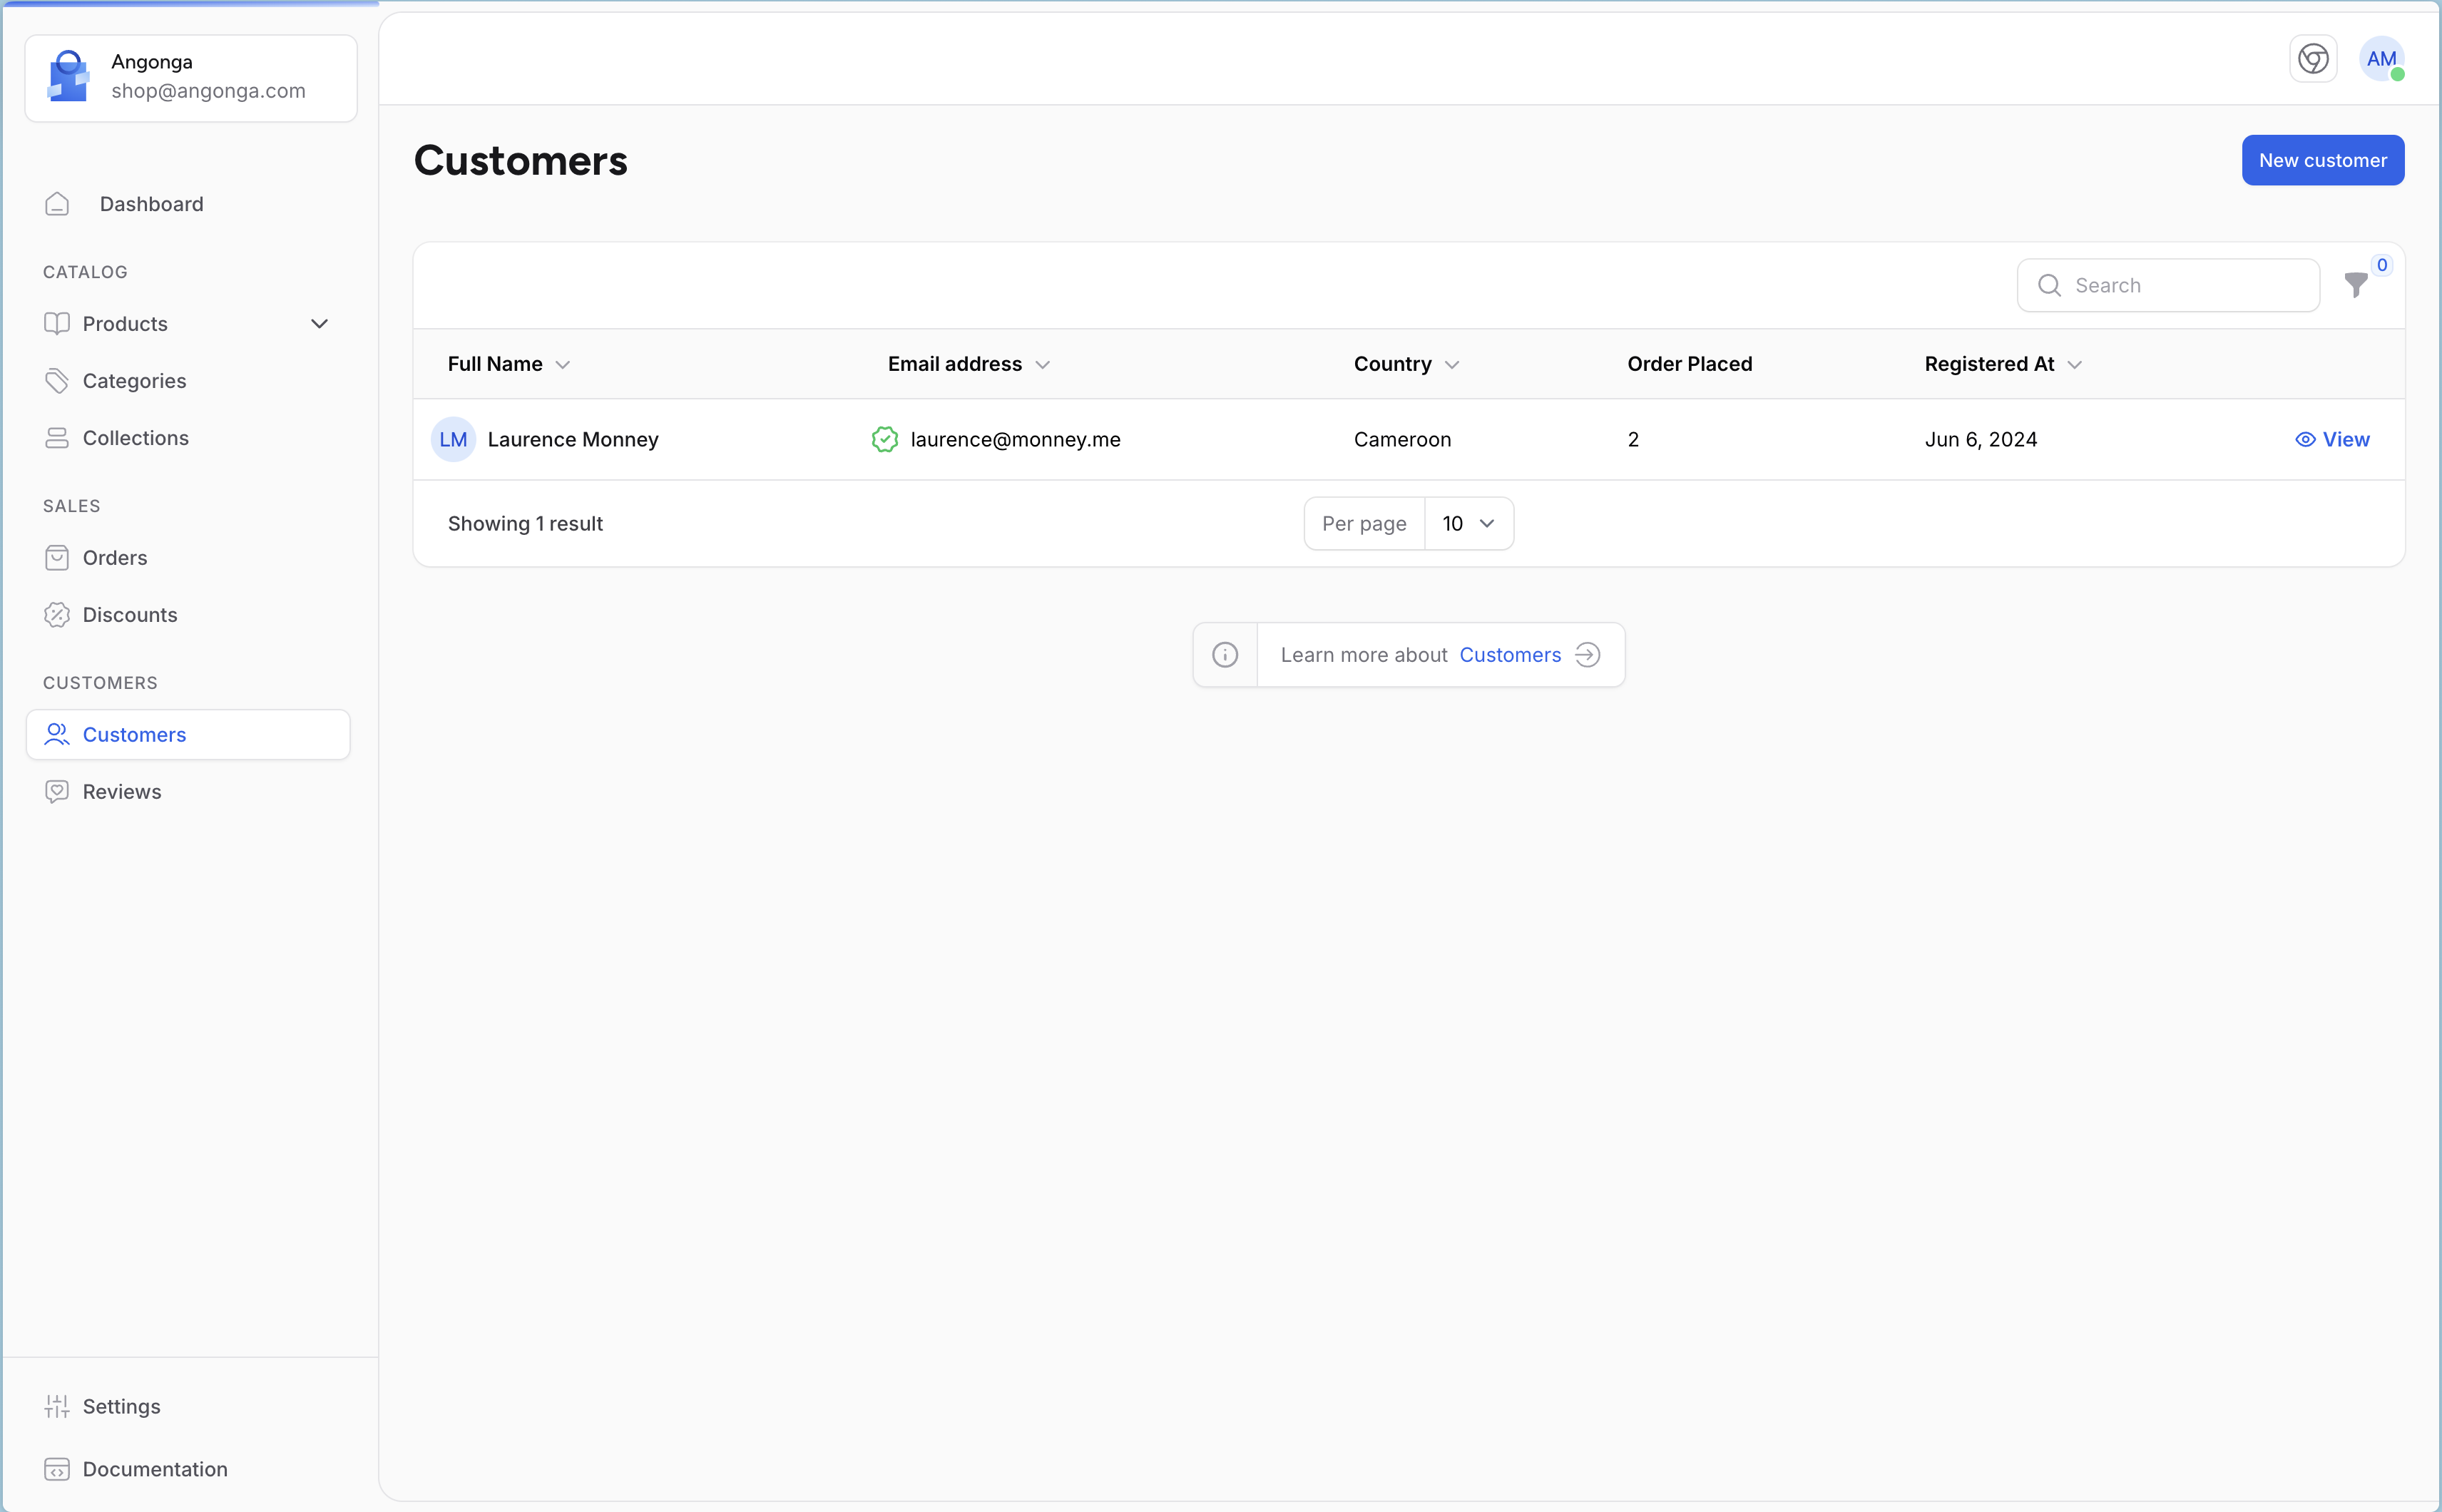
The first page under the "Customers" menu gives you a list of all the registered users on your shop.
During the installation of Shopper, one of the first things required is to inherit to our model User the features of the model User that is in Shopper.
Model
The model used is App\Models\User which extends the \Shopper\Core\Models\User model.
name column of the users table is removed and replaced by 2 new fields which are first_name and last_name.| Name | Type | Required | Notes |
|---|---|---|---|
id |
autoinc | auto | |
first_name |
string | no | Nullable |
last_name |
string | yes | |
email |
string | yes | Unique |
password |
string | no | Nullable |
email_verified_at |
timestamp | no | Nullable |
gender |
enum | yes | values ['male', 'female'] |
phone_number |
string | no | Nullable |
birth_date |
date | no | Nullable |
avatar_type |
string | no | default ui-avatars |
avatar_location |
string | no | Nullable, picture filename |
timezone |
string | no | Nullable |
opt_in |
boolean | no | default false, this field can be used for mailing subscription |
last_login_at |
timestamp | no | Nullable |
last_login_ip |
string | no | Nullable |
Components
By default, brands Livewire components are not published. To customize components, you must publish them.
This command will publish all Livewire components used for brand management (from pages to form components).
Once you've published the component, you can find it in the customer.php locate in the config/shopper/components folder.
Manage Customers
When a new customer places an order with your store, their name and information are automatically added to your customer list. A customer profile is created when a customer interacts with your store.
Alternatively, you can add a customer to your store manually.
Create customer
From your Shopper admin panel, go to Customers and click on "New customer" button.
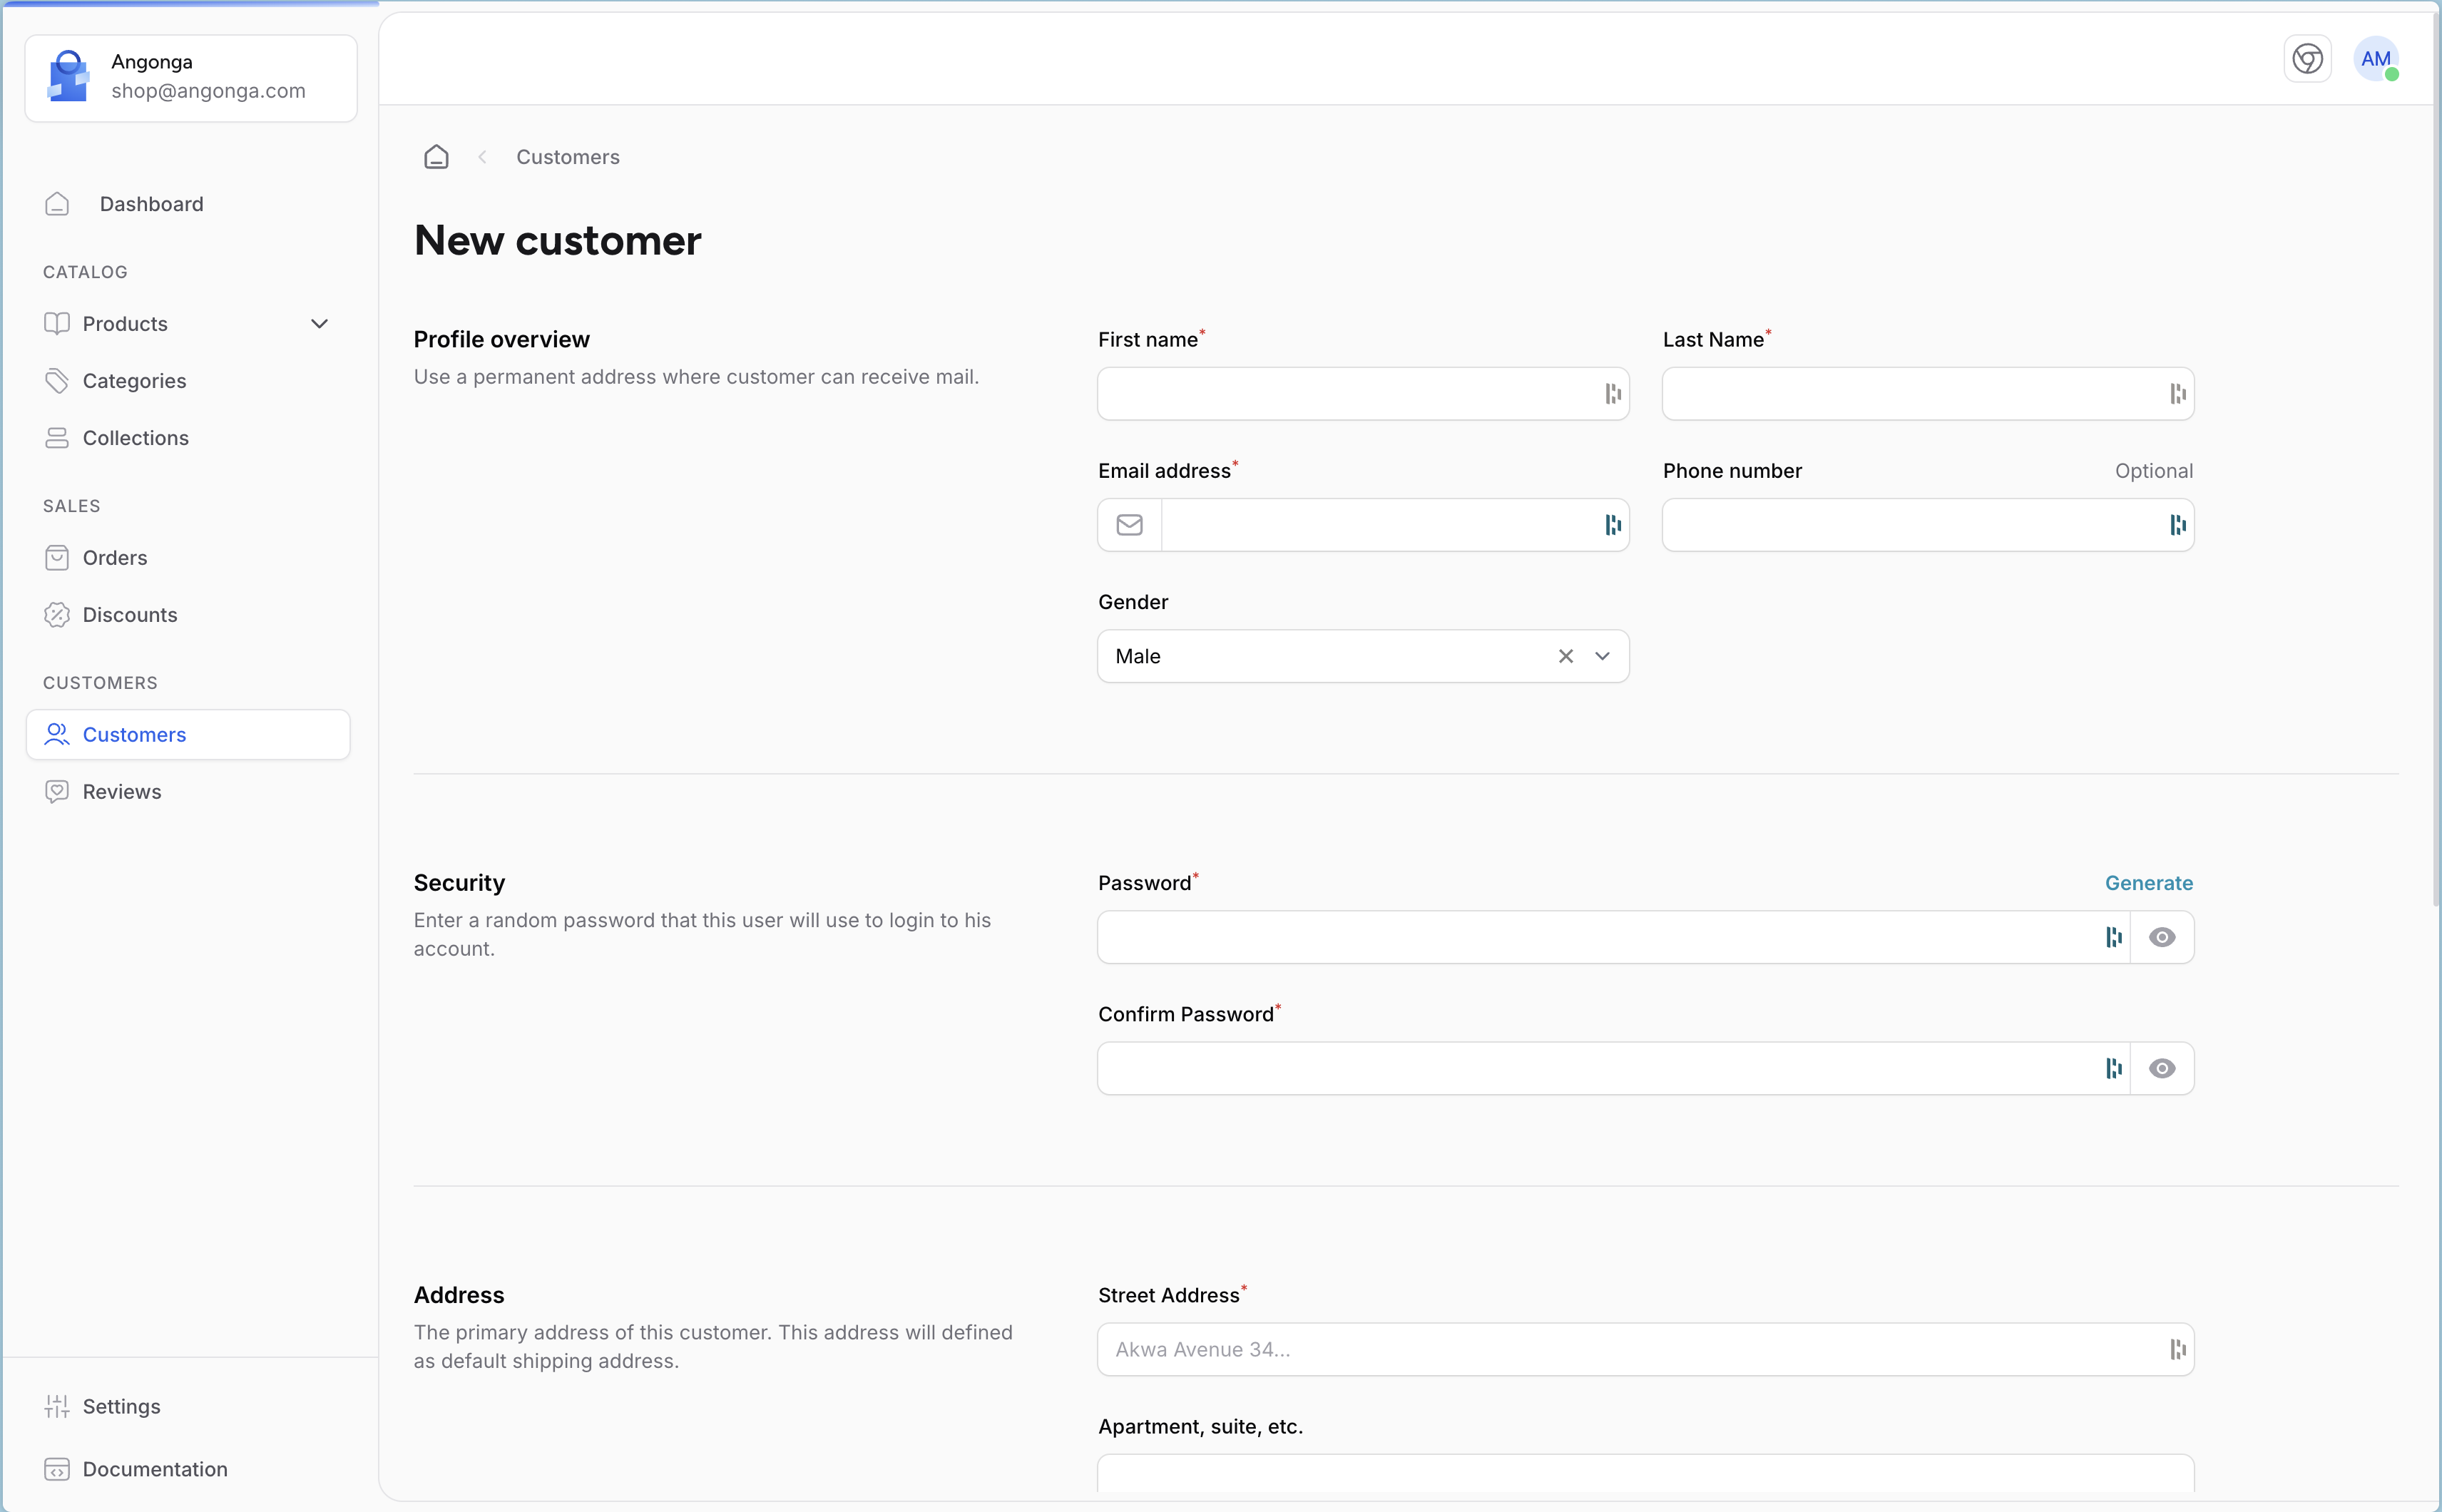
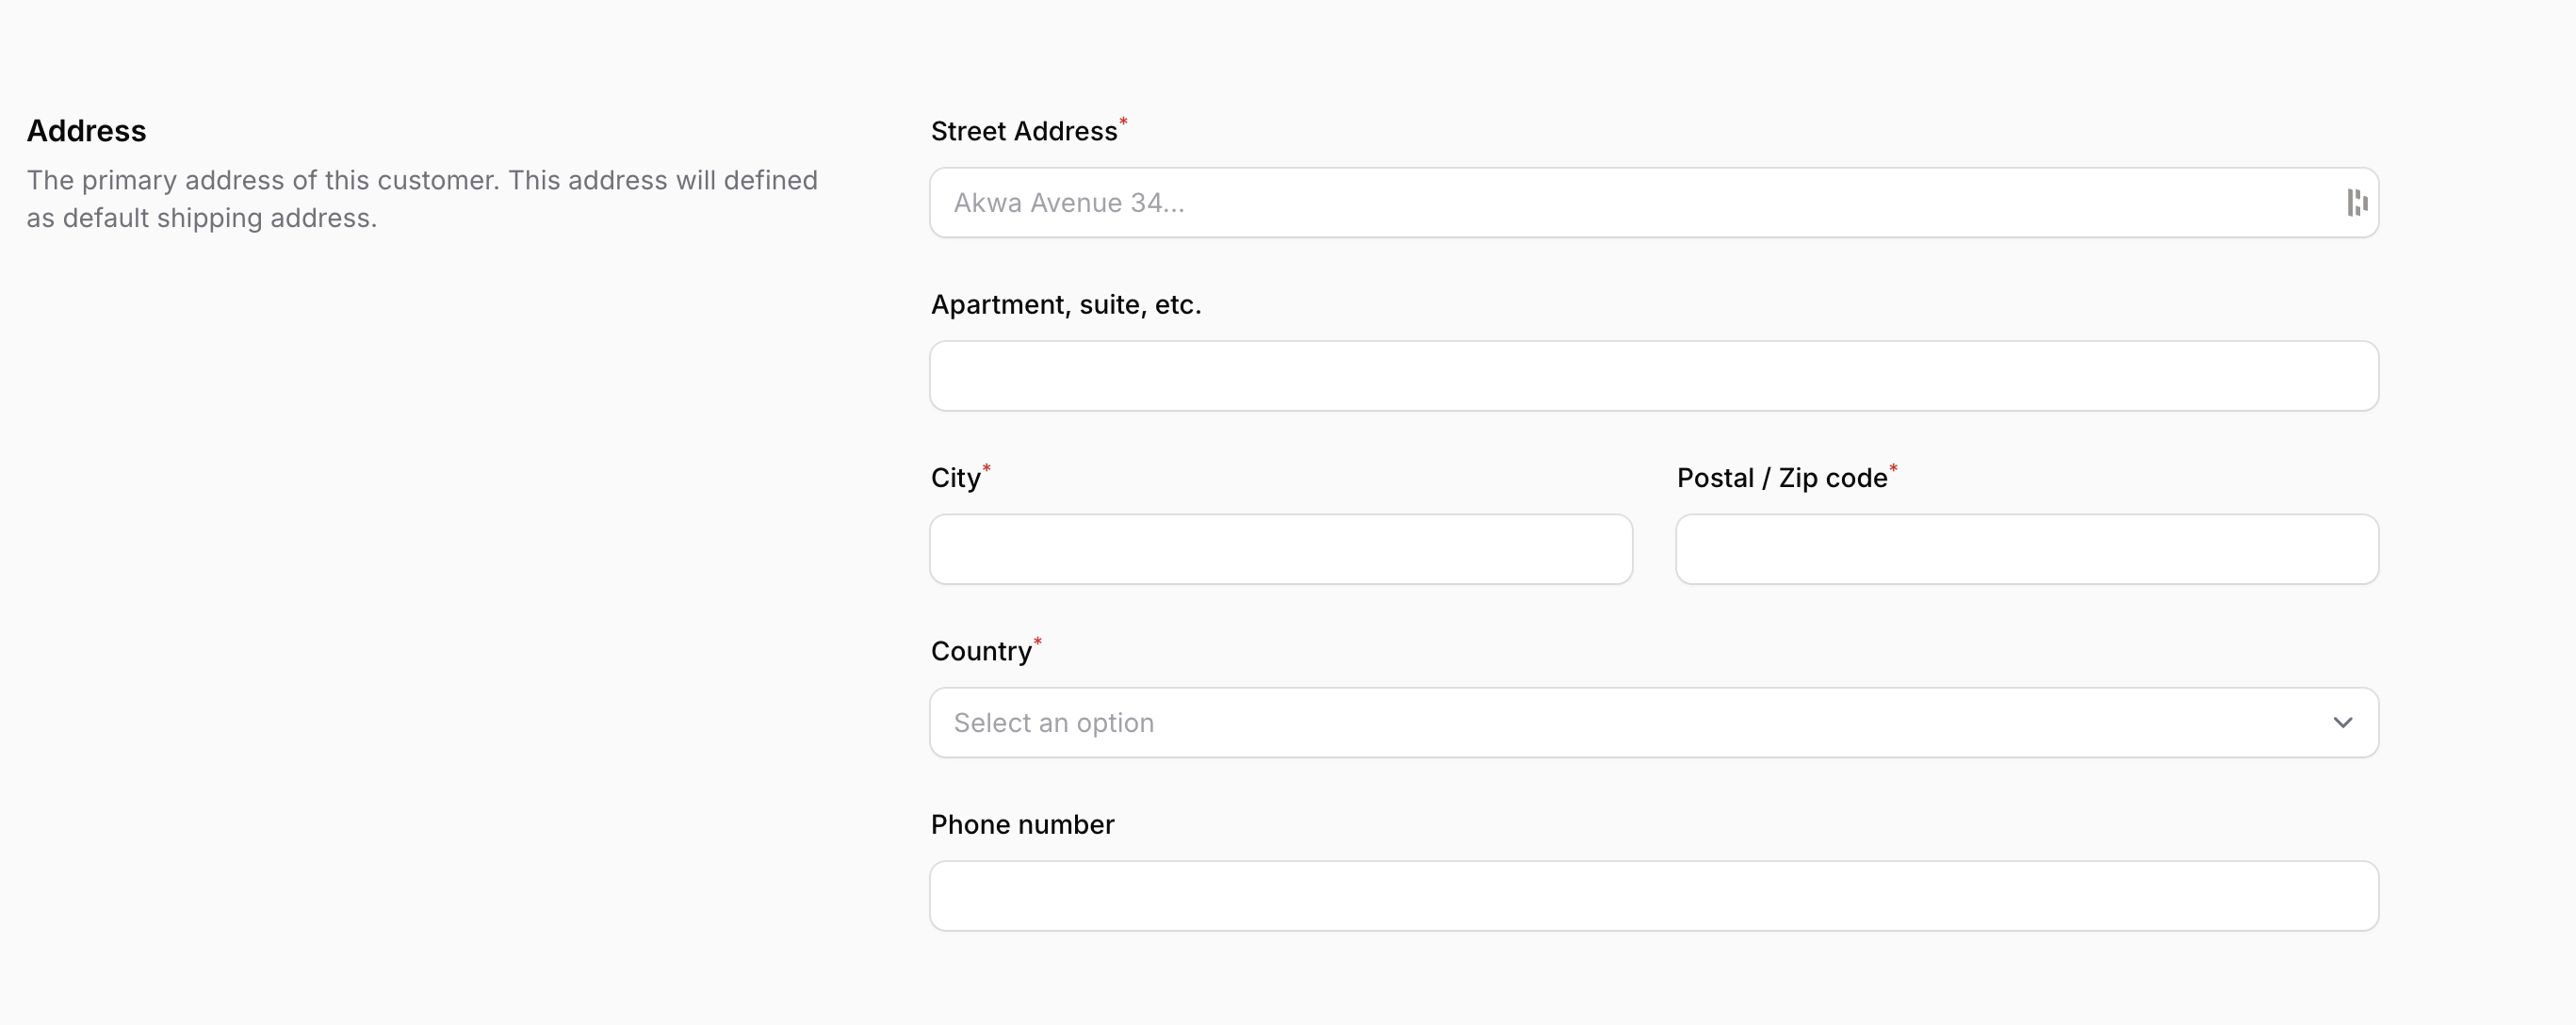
When creating a customer manually, you should also fill in an address that will be used when he places an order in your store.
Optional: If the customer has agreed to receive marketing emails, and you have entered an email address, then in the Customer overview section, check Customer agreed to receive marketing emails.
And you can also check the Send customer credentials checkbox to send an email to the customer with their login information.

The Livewire component used to create a customer is Shopper\Livewire\Livewire\Pages\Customers\Create
user profile which is the default role associated with all clients.Customer's Information
In the case where you would like to have more information on a given customer, you can click on the customer name row in the customer's list. A new page appears.
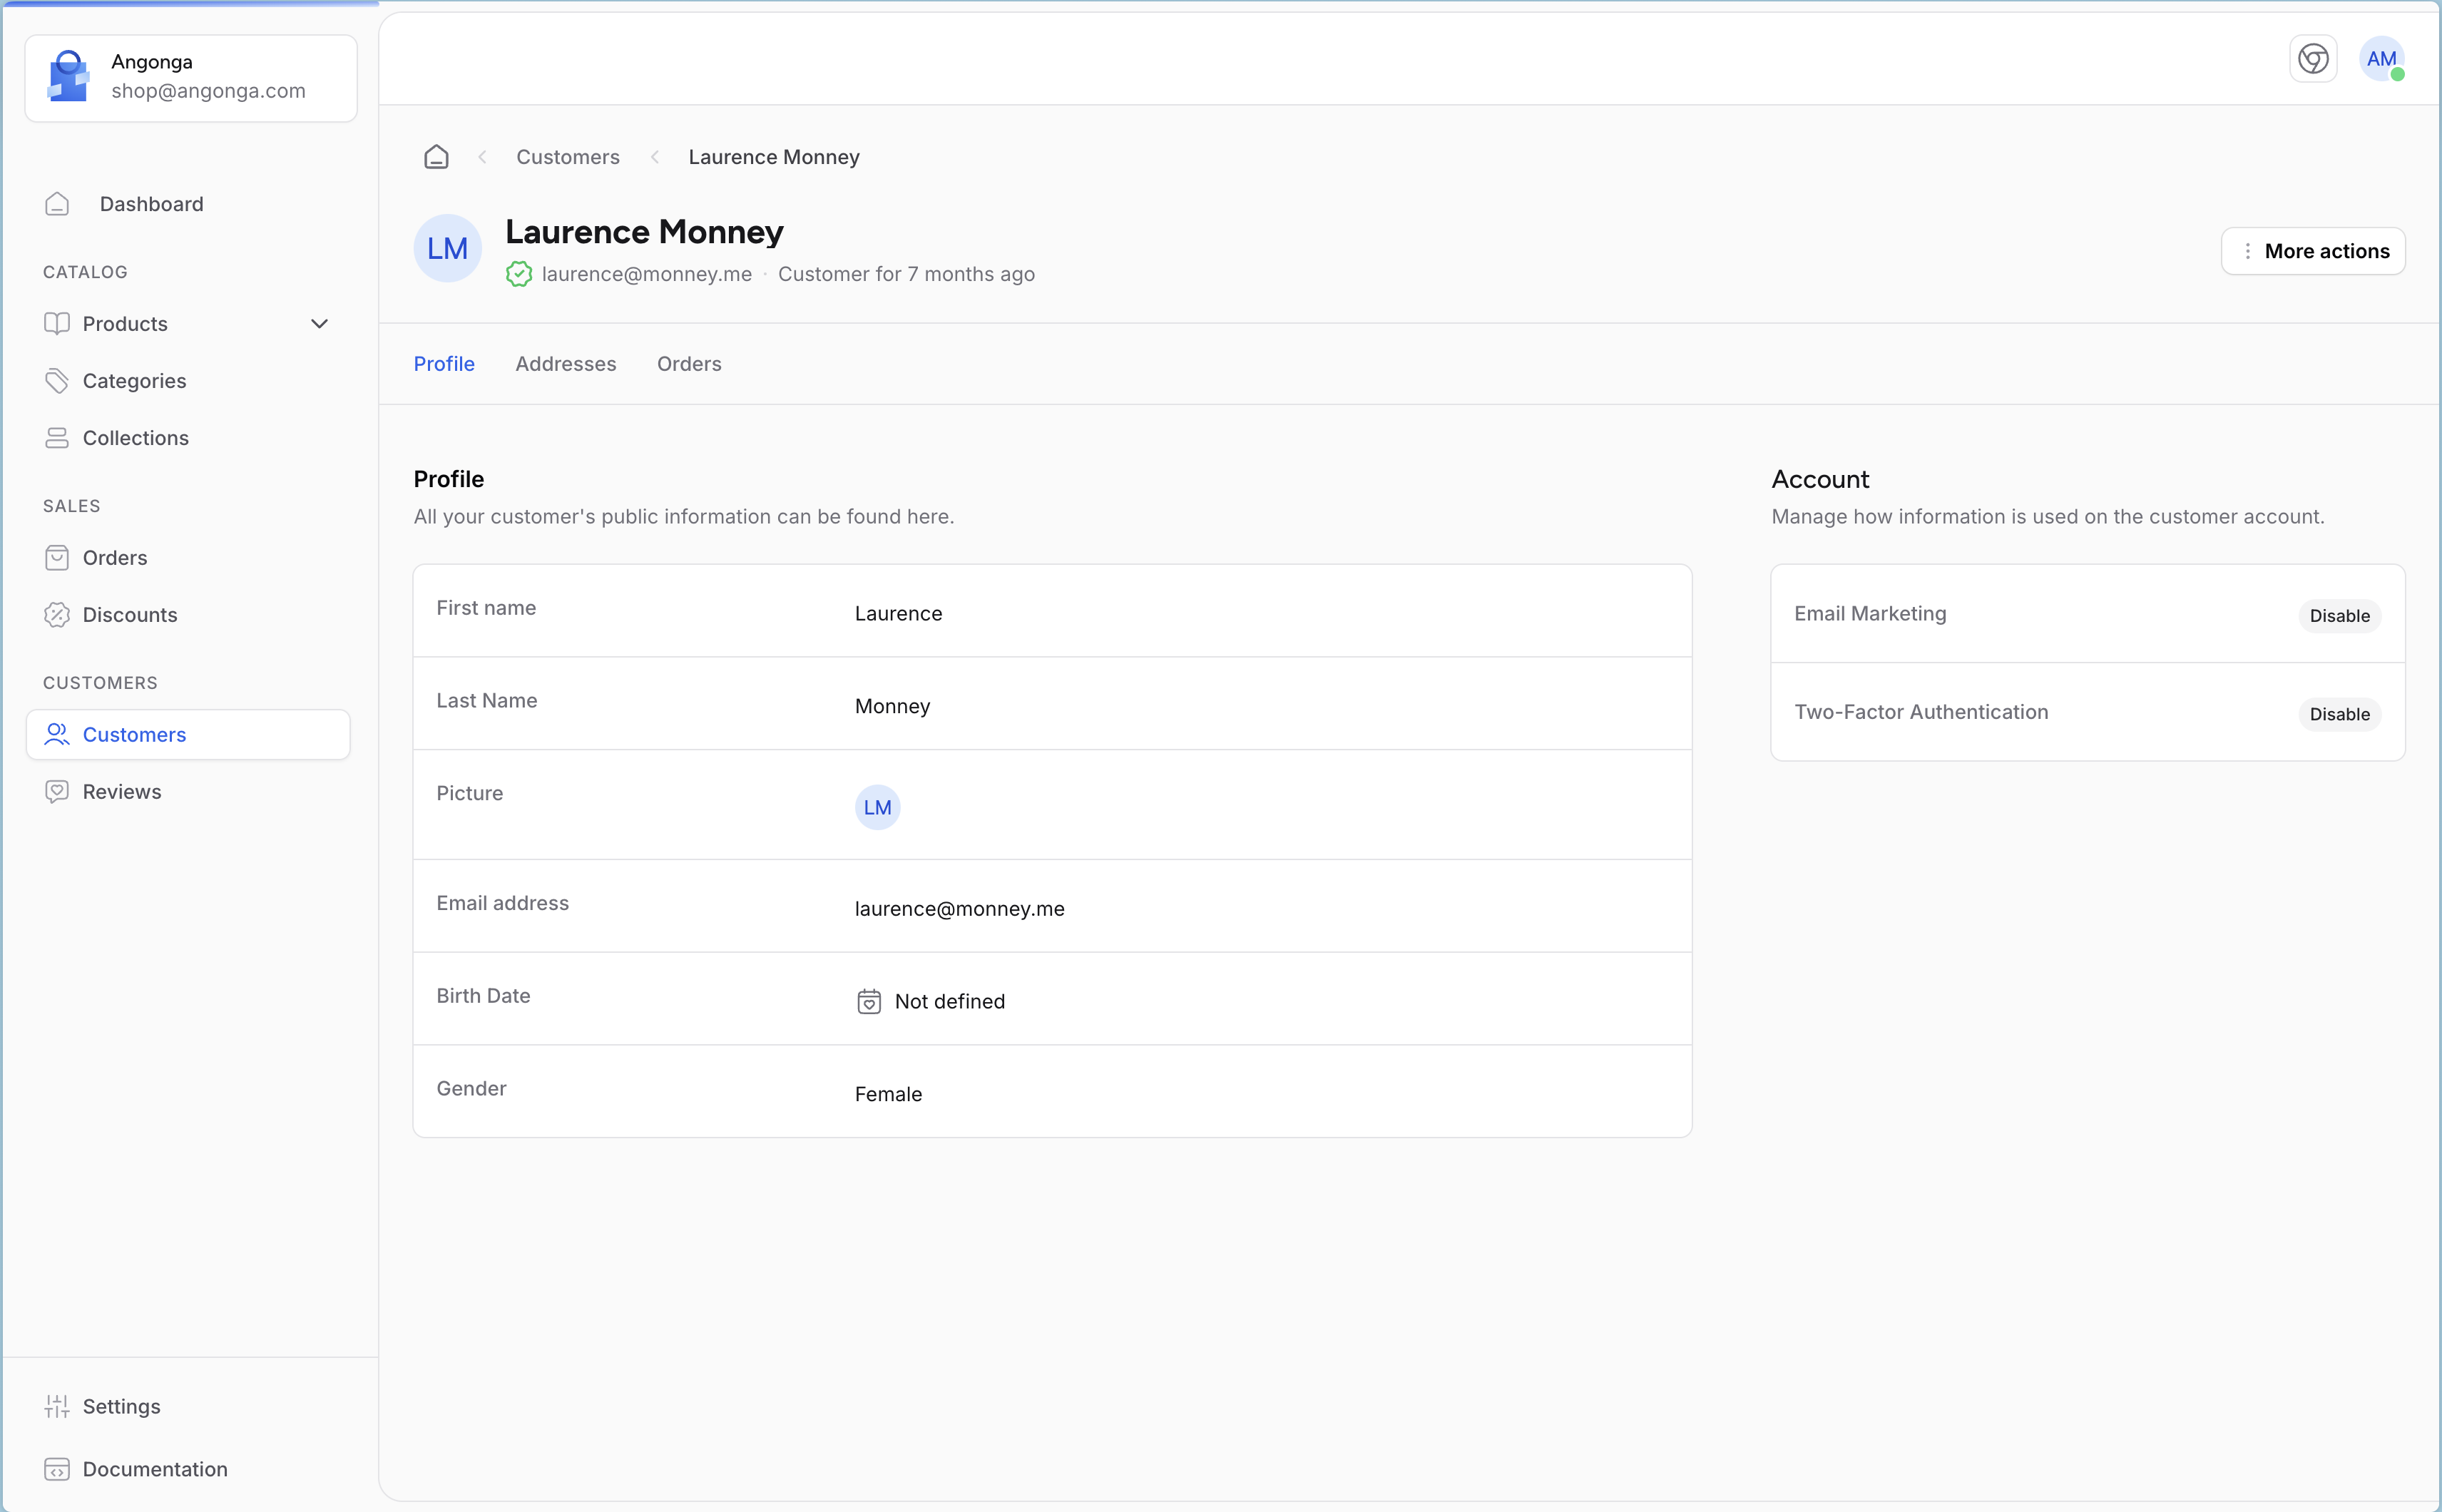
And in this page you can modify the information of a customer by clicking on the "update" button on the right of each information.
The various sections provide you with some key data on the user:
- Customer information, first and last name, e-mail address, picture, birthdate, gender.
- Registered Addresses
- Orders Summary of purchases already made by the customer. Amount spent, payment type, order status. For more information on each order, click on the order number.